Friday, June 29, 2018

Small Batch Salted Caramel Sauce


Salted Caramel Cupcakes are one of my most popular flavours and highly requested cupcake to make!

At first, I was super nervous to make caramel because of all the technicalities and equipment you see needed on television.

However after some research and good, old trial & error, I was able to customize a small-batch caramel sauce that was easy to make, needed no equipment and was just the perfect amount for beginners.

Here's what you will need.

Ingredients: 
- 1 cup granulated sugar
- 1/4 cup water
- 1/2 cup heavy whipping cream
-  1 tbs butter
- 1 tsp sea salt
- 1 tsp vanilla bean paste

Combine water and sugar in a tall saucepan. Cook on medium heat until sugar dissolves and begins to caramelized. You may gently swirl the pan but DO NOT STIR. Use a pastry brush and some water to brush off any sugar crystals from the sides of the pan.

While the sugar is dissolving, heat heavy cream in microwave in 30-second intervals until warm.

Once the sugar becomes golden and caramelized to your desired colour, remove from the heat and slowly add the heavy cream, being sure to stir once completely poured. The mixture will intensely bubble so be extremely careful.

When the cream has been stirred in and the mixture is homogeneous, add in your butter and vanilla and stir until glossy.

Transfer to a heatproof, glass bowl and place in refrigerator until set.

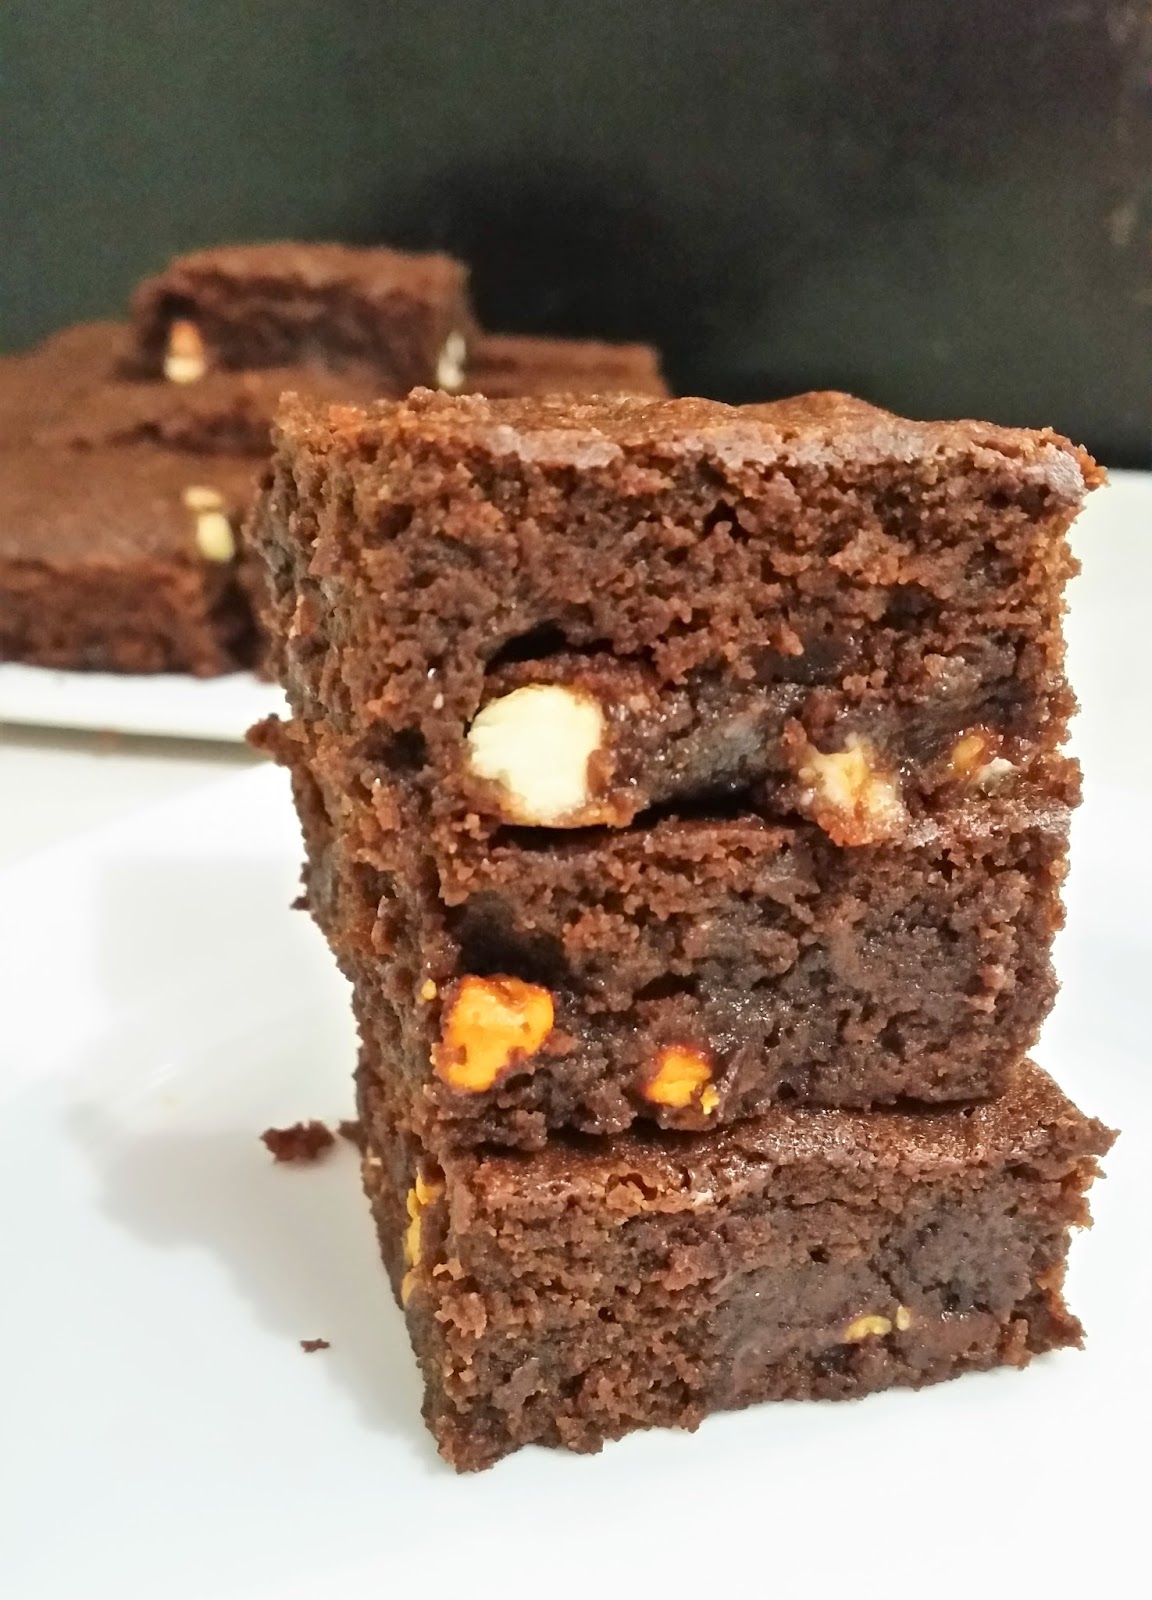
Salted Caramel is not only great in cupcakes, but also on brownies, cookies and especially ice cream 😍

Give it a go and be sure to check out my video tutorial if you need a visual aid :)


Saturday, August 12, 2017

Fudgy Brownie recipe


In a sea of cravings, this is my "almost-always"...

Basically, every time I am craving something sweet and chocolatey, I almost always feel for brownies. So I bake them!

What's your "almost-always" dessert cravings? 

I decided to film a short video tutorial and give you the recipe for the brownies I make for my small dessert business. They are Julicious Desserts approved!! (all my customers say so too 💕)

While most from-scratch brownie recipes call for all butter and melted chocolate, to make this more affordable, I sub half the butter quantity with vegetable oil and use cocoa powder.

Here is a the tutorial and the recipe below:


You will need:
- 1/2 cup butter
- 1/2 cup vegetable oil
- 1 tbsp vanilla extract
- 1 cup brown sugar
- 3/4 cup white sugar
- 3 eggs
- 3/4 cup flour
- 3/4 cup cocoa powder, sifted
- 1 tsp instant coffee powder
- 1 cup chocolate chips/ chunks

  • Start by melting your butter and add your vegetable oil. When it is cooled slightly, add your vanilla extract and sugars and whisk thoroughly. 
  • Add in your eggs one at a time, whisking after each addition. 
  • Next add in your flour mixture (flour, coffee and sifted cocoa powder). Use a spatula to fold in mixture. 
  • Before all your flour is fully incorporated, add in your chocolate pieces. You can skip this step or add in any complimentary ingredient of your choice such as nuts, candies, caramel, oreos etc.
    *I used a combination of 1/2 semi-sweet chocolate chips, 1/4 cup butterscotch chips and 1/4 cup white chocolate chips. 
  • Fold in chocolate, but be careful not to overmix! 
  • Grease and line a 9x9 baking pan with parchment or wax paper and evenly spread mixture into pan. Bake in a preheated oven at 350F for 20-25 minutes, checking at the 20 minute mark. The edges of brownies should be firm while the center should still be soft. 
  • Cool in pan for 5 minutes and remove onto a wire rack to cool for an additional 30 minutes to 1 hour (if you can wait that long) 


Cut into 12-16 squares and enjoy!!


Happy Baking!! 
xx

Sunday, July 30, 2017

Quick and Easy Honey Garlic Chicken


After posting this picture on my Instagram, I got a lot of requests asking for the recipe.

This recipe was born out of a simple request from my cousin for a dinner that consisted of something with onion and garlic.

Now, my mind immediately thought of making Onion Rings but what could be the protein? Ravaging through my freezer, I found a pack of Chicken Breast Chunks.

I knew it would be best to make something battered and fried so as to use any leftover oil or flour from the Onion Rings. But my cousin said garlic right? So after some quick YouTubing, I found my inspiration from a Tasty video on Honey Garlic Chicken Wings.


I promptly set to work! 😃

Friday, July 21, 2017

Sugar Crust for Crème Brûlée without Torch or Broiler!!


I discovered this method of creating the sugary top of Crème Brûlée completely by accident.

I was doing a sale of Crème Brûlée cups for my dessert business and I was only able to source hard plastic cups in time for the sale.

So I made the Crème portion of the recipe and left it to set, thinking that if I wrap foil around the entire cup and then torch it, the plastic would not melt.

To my utter dismay, as I was melting the sugar for the crust, so to was I melting the actual cup that held the dessert!!

Thursday, July 20, 2017

Crème Brûlée for One (No Bake)


Crème Brûlée is one of my all-time favorite desserts!! I absolutely love and almost always order it when I eat at restaurants that offer it.

A while back I purchased a blowtorch and had great fun making Crème Brûlée for my dessert business.

But the recipe I used usually made about ten 9 oz. cups of the Crème mixture and there were days that I just felt like eating one.

So I played around with a few techniques and managed to scale the recipe down to make enough for one and also develop a recipe that required no baking!

Disclaimer: A traditional Crème Brûlée requires the Crème to be baked in a water bath and then to be set for a few hours, preferably overnight. This recipe was developed to have the same taste of a Crème Brûlée and satisfy cravings without having to bake in the traditional method. 


Latest post

Small Batch Salted Caramel Sauce